You want precision, yet you eyeball the window. You crave drapery that pools elegantly, yet you fear the math.
Measuring for curtains demands more than a tape measure and hope.
It requires understanding how header style, rod placement, and fabric fullness interact to determine your final dimensions.
Get one element wrong, and your panels gap, drag, or hang like bed sheets.
Pick Your Header Style First (It Changes How You Measure)
Pick Your Header Style First (It Changes How You Measure)
Before you pull out your tape measure, you’ll need to lock in your header style, since that single choice reshapes every width calculation you’ll make from this point forward. When you Measure for Curtains, you’ll discover that header styles dictate your fullness ratio, and that ratio determines how much fabric you’ll actually need.
Choose your header style before measuring—it’s the single decision that reshapes every width calculation from this point forward.
If you select a grommet or soft-top header, you’ll multiply your rod width by 1.5 to 2.0 to set your target curtain width. If you prefer a pinch pleat or tailor pleat, you’ll push closer to 2.0, or 2.3 for triple variations. Rod pocket headers demand roughly 1.5x to 2x your window width.
Switch your header, and you’ll recalculate, because mismatched fullness leaves panels looking skimpy. Measure the Width correctly, or your upholstery-grade fabric won’t drape as intended.

Includes one wide pocket rod adjustable from 84-156 inch, 2 end brackets, 2 supports and mounting hardware Wide pocket rod is 2.5 inch tall Projection: 4-6 inch Material:...
Position Your Rod Before You Measure Anything
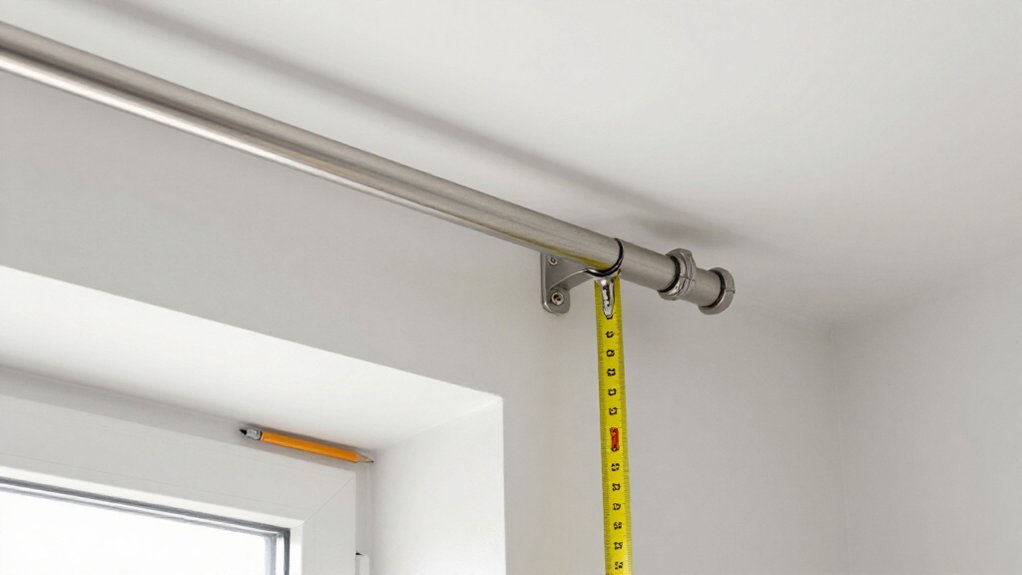
You’ll want to settle on your rod placement before you start calculating lengths, since every measurement downstream depends on this fixed reference point. Mount your curtain rod 6–10 inches above the top of the window frame to create visual height, or position it near the ceiling for maximum coverage and light blocking. Mark this height with pencil or masking tape so you reference the same spot consistently.
To measure curtains accurately, grab a metal tape measure and record from your marked rod position down to your desired endpoint: floor contact, or 0.5 inches above for clean clearance. Extend the rod 6–15 inches past each side of the frame to accommodate the gathered fabric stack.
Your curtain length, whether eyelet or pencil pleat header, derives entirely from this initial mounting decision.

Designer Gold-Foil Print: This set includes 2 window panels in Pure White, each 52 inches wide and 84 inches long, finished with gold-foil floral branches and dots in warm metallic gold for a modern, designer-quality look in any room.

PACKAGE: Includes a set of 2 curtain panels with tiebacks. Each measuring 52"W x 63" L, grommet design. 1.5 to 2 times rod width is better for a proper look and fullness
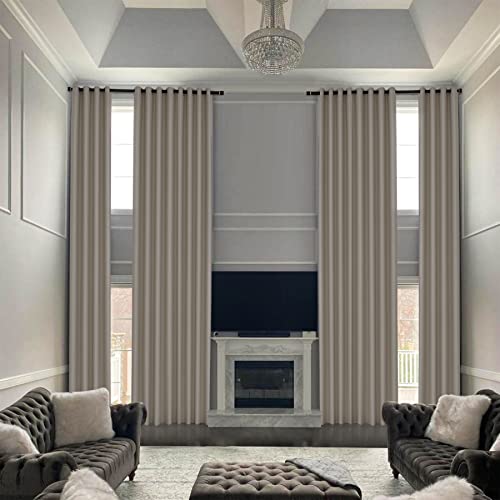
💓ONE PANEL: Sold per panel. Panel measures: 52 W x 132 L inches. Each window drape constructed 8 nickle grommets with 1.6 inch inner diameter, fit well with standard or decorative curtain rods. Easy to install and slide.
Measure Curtain Width: The Complete Method
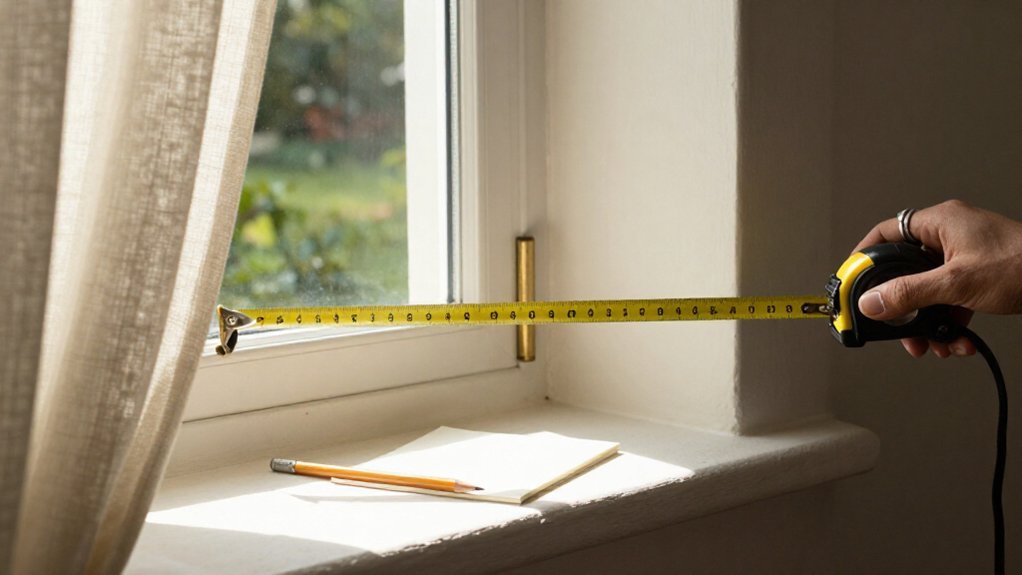
With your rod position locked in, you’re ready to tackle the width calculation, and this step determines whether your curtains look skimpy or properly dressed. Grab your steel tape measure and span the rod or track, excluding decorative finials, then measure curtain width to the nearest 1/8 inch.
For standard fullness, multiply your window width by 2×, or choose 2.5× for a luxury drape. Remember, curtain sizes refer to individual panels, so verify combined widths match your target. Outside mounts need extra width, extending 3–6 inches beyond each frame side for proper stack clearance. Inside mounts match the frame exactly.
Always round up to the next half or whole inch; insufficient fabric leaves flat, disappointing results, and rounding down risks coverage gaps you cannot fix later.

Thick Linen Fabric with Timeless Texture: Crafted from premium thick linen blend fabric, these pleated curtains feature a rich woven texture that adds warmth and depth to any room. The soft neutral color palette complements a wide range of décor styles, making them an ideal choice for living rooms, bedrooms, dining rooms, home offices, and modern farmhouse, coastal, Scandinavian, or minimalist interiors.

Thick Linen Fabric with Timeless Texture: Crafted from premium thick linen blend fabric, these pleated curtains feature a rich woven texture that adds warmth and depth to any room. The soft neutral color palette complements a wide range of décor styles, making them an ideal choice for living rooms, bedrooms, dining rooms, home offices, and modern farmhouse, coastal, Scandinavian, or minimalist interiors.

Triple Pinch Pleat Hanging Method: Sold as a set of 2 panels (each 40"W x 80"L) and includes 14 metal rings and 14 hooks.Each panel features 6 true pinch pleats and 7 back tabs.The classic triple pinch pleat header is compatible with standard curtain rods or ceiling tracks when used with hooks, allowing each curtain panel to fall in clean, vertical lines that enhance window height and provide a polished drapery panels appearance.
Measure Curtain Length for Your Finished Look
You’ll measure your curtain length from the rod or track’s placement height down to your chosen endpoint, accounting for style-based length adjustments like pooling or breaking. Your floor clearance options range from a precise 0.4–0.5 inch hover to dramatic 7-inch puddles, depending on your aesthetic and practical needs.
If you’re working with uninstalled hardware, subtract both the track height and your desired gap from the total measurement to ensure accurate, finished dimensions.
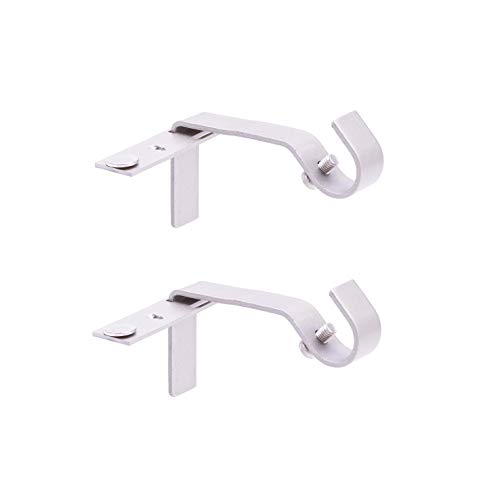
NO DRILL, NO MEASURE INSTALLATION FOR QUICK SETUP Fast Fit design installs easily without drilling or measuring, helping save time and reduce wall damage during setup.
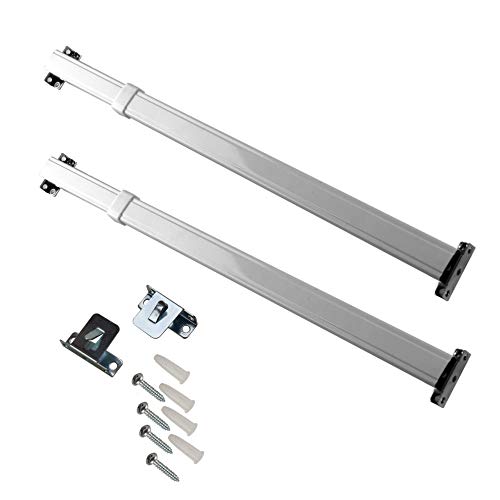
Rod Desyne is pleased to introduce our new Flat Sash Rod that is designed for double pocket curtains to put on doors or small windows.

Comprehensive Package: The package includes four inside mount curtain rod sockets, each equipped with matching screws, offering a complete solution for your mounting needs. This convenient set ensures you have all the necessary components to get started right out of the box without needing additional tools
Rod Placement Height
Although mounting height directly shapes your curtain’s visual impact, the calculation remains straightforward: measure from your chosen rod position down to your intended hem endpoint, whether that’s the floor or a deliberate gap. For rod placement height, measure from the top of the window frame or 6–12 inches above it to create taller proportions and increase natural light. When using a curtain track, measure from the top of that structure instead.
Position high mounting to draw eyes upward, expanding perceived ceiling height. Account for track hardware depth, as brackets and casters affect final curtain fall. Check upholstery weights, since heavyweight fabrics demand sturdier rods positioned for structural integrity. Record exact measurements before purchasing, as returns for custom lengths remain limited or costly.
Style-Based Length Adjustments
Once you’ve set your rod or track height, you need to determine how your curtains will meet the floor, since this choice changes your final measurement. You measure length from the top of where the rod or track will be installed down to your desired endpoint.
For curtains that touch the floor exactly, stop at floor level. If you prefer breaking, add about 3 inches so fabric breaks slightly over the floor. Puddling demands roughly 7 extra inches for gathered fabric on the floor.
With ripple fold styles, calculate: track-to-floor distance minus your desired gap. A neat hover, approximately half an inch above the floor, prevents dragging. For an in-between drape effect, add 2 to 4 inches. Each window treatment requires precise measurement to achieve your finished look.
Floor Clearance Options
Because your curtains’ relationship with the floor defines the room’s visual weight, you must choose a clearance option before cutting any fabric. For floor-length curtains, measure from the rod/track down to your desired point of curtain end, not from the window sill. Your ground clearance options include a precise hover at 0.4–0.5 inches above the floor, or you can add extra length for deliberate pooling.
Measure from the rod/track installation height to the floor, rounding to the nearest 1/8 inch for accuracy. Add 2–4 inches for a slight drape, or up to 7 inches for dramatic puddling that collects dust near casters and upholstery. Account for total width when calculating fabric needs, as fuller curtains require more length to hang properly. Subtract track height from your measurement if you are using a ceiling-mounted system rather than a decorative rod.
Calculate Fabric Fullness for Your Header Type
Since your header style determines how much fabric you’ll need, you’ll want to settle on that choice before you measure anything else, as each header type demands a specific fullness multiplier to form its intended pleats or gathers.
For a pleated header, you’ll multiply your curtain rods’ width by 2× for pinch, tailor, inverted, or goblet styles, or by 2.3× for triple and triple tailor pleats. If you’ve chosen soft top and grommet headers, you’ll use 1.5× for a tailored look or 2× for standard gather richness. For rippled wave folds, you’ll default to 1× fullness, though you’ll plan around roughly 2× fabric width to achieve those characteristic waves.
Once you’ve calculated your total fabric width using your width multiplier, you’ll round up to the next available panel size, ensuring your finished panels won’t hang too narrow on your hardware.

Heavy Duty Curtain Rod Ceiling-Mount Brackets is made of High quality iron,strong hardness,sprayed with elegant paint on the exposed parts to provent rust.

Low-Temp Strip Door Curtain Kit – Complete PVC Strip Door Kit designed specifically for freezer and cold-storage environments. Pre-punched low-temperature PVC strips remain flexible in extreme cold. NSF & USDA approved. Custom made in our state-of-the-art manufacturing facility.

Strivide - Strip Door Curtain Kit - Complete PVC Strip Door - Clear Pre Punched Vinyl Strips - Universal Mount Hanger - Plastic Strip Door - NSF USDA Approved. Custom Made to your specifications in our state of the art MFG Facility
Fix These Measuring Mistakes Before You Order
Even experienced decorators frequently make critical measuring errors that’ll derail an otherwise perfect curtain installation. You’ll want to double-check every dimension before committing to custom fabrication. You must measure the full pole span, not the finials, rounding to usable fractions. Your Curtain Type dictates fullness requirements: factor 2x Width and Length minimum for standard panels, or 2.5x for luxury draping.
Run your tape from the mounting point to your desired endpoint, never from the sill downward. For blackout, mount high and extend 6 inches past trim to seal light leaks. Add generous side of the window coverage, typically 4 inches minimum per side, to accommodate rod brackets and stacking.
- Measure pole span only, excluding decorative finials
- Apply 1.5x–2.5x fullness based on header style
- Check Length from rod to floor, not window bottom
- Extend Width at least twice past trim for proper coverage