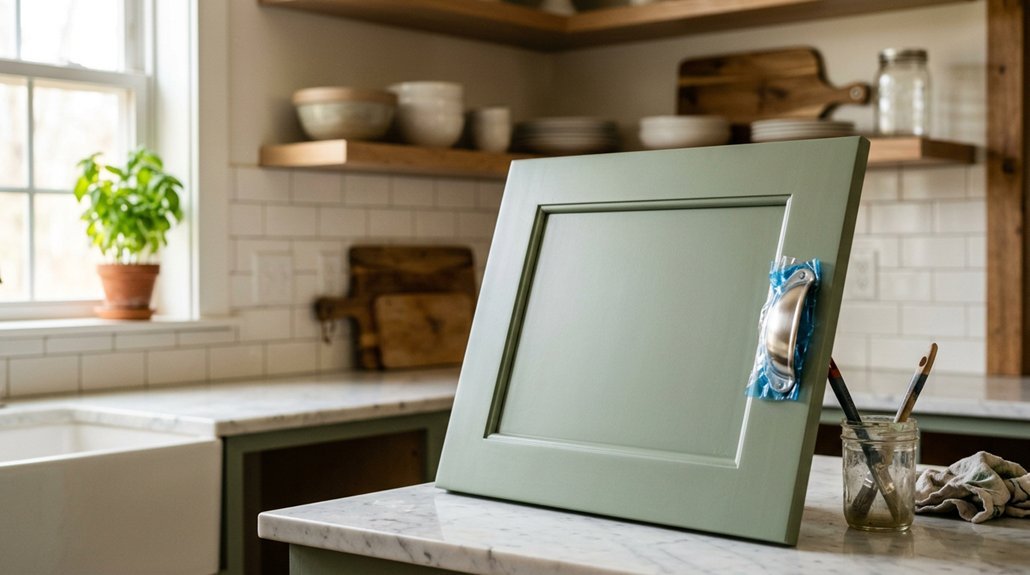
You want a fresh kitchen look, you dread the mess of paint, and you need options that actually work. Five practical alternatives exist, each with specific trade-offs in durability, cost, and installation complexity.
Hardware swaps demand precise hole spacing. Vinyl wrap requires flawlessly smooth surfaces. Refacing limits you to standard door sizes. Glass inserts reduce storage privacy. Open shelving eliminates concealed storage entirely.
The right choice depends on your cabinet condition, budget ceiling, and tolerance for visible clutter.
Swap Hardware for a Quick Update Without Painting
If your cabinets feel dated but you’re not ready to commit to painting, swapping the hardware offers one of the fastest changes you can handle in a single afternoon. You can update kitchen cabinets without painting by installing new hardware that matches your existing finishes, and brass knobs pair especially well with oak kitchen cabinets and warm white subway tile backsplashes.
Before you purchase knobs and pulls, measure your existing hole spacing to ensure proper alignment on cabinet doors and drawers. You can mix knobs and pulls from the same collection, provided you maintain consistent spacing and style across all pieces.
This post may contain affiliate links to recommended hardware suppliers. While frequent use wears hardware over time, replacing dated brown fixtures with warm metals delivers immediate visual impact with minimal labor investment.
Apply Vinyl Wrap for a Reversible, Paint-Free Refresh
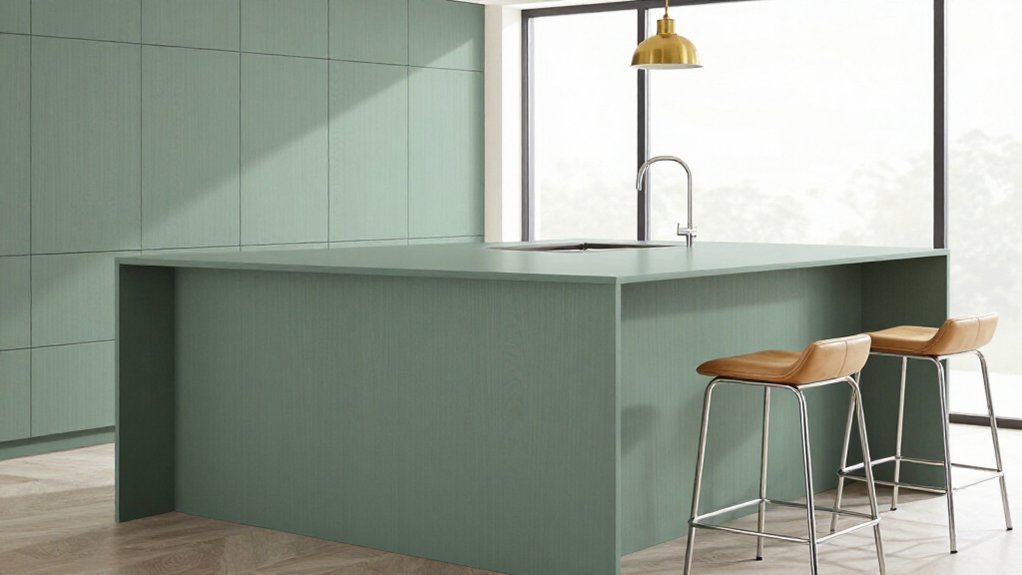
Because you want a dramatic cabinet update without permanent commitment, vinyl wrap offers a removable solution that installs directly over your existing surfaces. You can update your kitchen cabinets with this paint-free film, achieving a new look without painting or sanding your existing doors. This approach lets you refresh dark wood cabinets, cover surfaces smoothly, and make a big difference in your kitchen’s overall appearance.
You’ll find that quality varies greatly across products, so invest in higher-end wrap for realistic, painted-like results. Cheaper vinyl can appear tacky or uneven, undermining your update. Remember, proper surface prep matters, since wrap adheres best to smooth, clean faces, and edges may lift if you skip this step. Heat, moisture, and heavy cleaning weaken adhesive over time, so your long-term success depends on careful application and material choice.
For kitchen cabinets without permanent alteration, vinyl wrap works, though open shelving units in this post demand different consideration.
Reface Cabinet Doors Instead of Painting
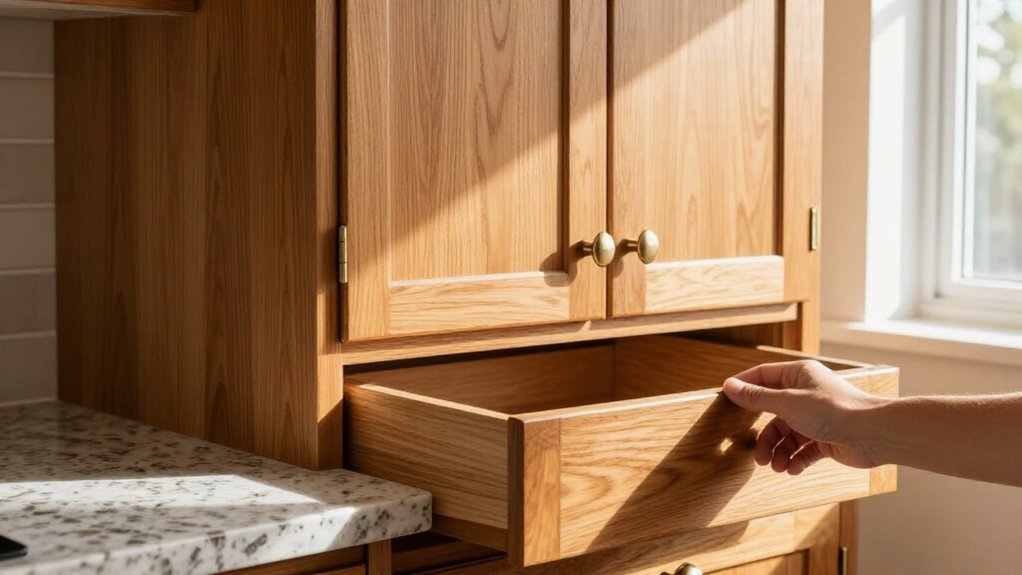
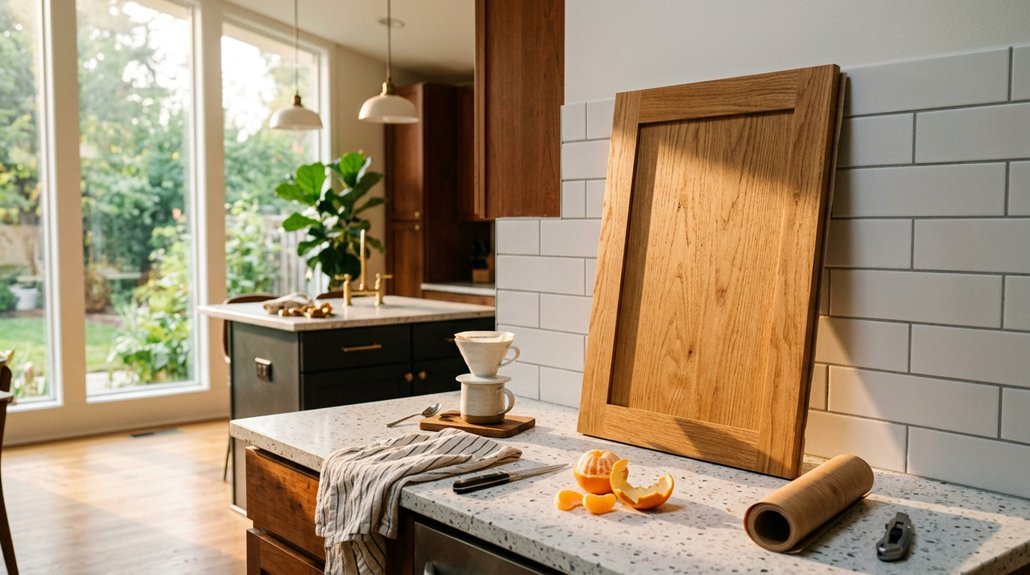
Vinyl wrap gives you a removable surface update, but you’re still working with the same underlying doors and their wear patterns. When you reface cabinet doors instead of painting, you replace the visible fronts entirely, giving you a new look without touching the internal framework. Factory-finished surfaces last longer than paint, especially in high-traffic kitchens.
Refacing replaces worn cabinet fronts entirely, giving you factory-finished durability that outlasts paint in busy kitchens.
Consider these material combinations for your update:
- Clear glass inserts with antique brass frames for transitional warmth
- Solid panels in stainless steel for industrial durability
- Painted wood alternatives if you’re painting the island a contrasting color
You’ll pay more than vinyl wraps since custom-fit doors require precise measurements, and your existing layout limits the results. However, you can add soft-close hardware during installation, improving function while the cabinets look brand new. Required fields are marked when ordering custom dimensions.
Install Glass Doors and Interior Cabinet Lighting
Swap solid panels for glass inserts in selected cabinet doors, and you’ll immediately reduce the visual weight of dark or wood-heavy kitchens while gaining reflective surfaces that bounce light around the room. You can install glass doors as a place to start, since swapping the center panel offers a manageable DIY path that preserves solid wood frames while updating the overall look.
Keep glass styling consistent across feature cabinets, and coordinate interior finishes with existing wood tones or a fresh coat like Benjamin Moore paint for cohesion. The first thing visitors notice may be your pantry door, so consider highlighting it.
Add LED strip or puck lights inside upper cabinets, because wiring takes time but makes a big difference in display quality. You’ll want tidy arrangements of decor pieces, since glass reveals clutter that solid panels hide. Unlike pendant lights, interior cabinet LEDs run cooler and draw less power, though you’ll need to plan switch placement carefully.
Convert Cabinets to Open Shelving
If you’re looking to reduce visual bulk without replacing your cabinetry entirely, you can convert existing cabinets to open shelving by removing the doors and adjusting the interior brackets or adding simple shelf boards to maintain the same footprint. This approach works well when you want a lighter aesthetic without a complete overhaul. You should check that your interior cabinet backs match your wall color, or consider adding a decorative back panel for a finished look.
Convert upper cabinets only, keeping lowers closed for concealed storage. Group dishes by color, avoiding orange tones that clash with many palettes. Dust and wipe shelves weekly, since grease accumulates faster than with doors.
Open shelving changes how your whole kitchen looks and feels, demanding intentional arrangement. Some product recommendations below may contain affiliate links.