If your worn oak nightstand has sturdy joints but scratched surfaces, you can refresh it in five controlled steps.
Choose sound furniture, then gather primer, paint, sandpaper, brushes, cleaner, wood filler, and a protective topcoat.
Remove hardware, clean with Murphy’s Oil Soap, repair dents, and sand smooth.
Apply thin primer and paint coats, sanding lightly between layers.
Seal the finish, allow full curing, and reinstall hardware, while treating casters or upholstery separately because paint may not adhere well.
Choose Paintable Bedroom Furniture and Gather Supplies
Start with bedroom furniture that’s structurally sound but cosmetically worn, such as a dresser, nightstand, or bed frame with intact legs and casters. Choose paintable bedroom furniture with intact legs, smooth drawers, and no deep scratches, chipped corners, or missing veneer. Test each drawer, because stuck or jammed hardware requires repair before repainting.
Prefer good wood over laminate furniture, since wood usually needs less sanding surface preparation for primer adhesion. If you’re uncertain, practice on an inexpensive old piece of furniture before tackling an heirloom.
To gather supplies, select fine grit sandpaper, furniture paint, a coat of primer, and basic brushes or rollers. Check thrift stores mid-week around lunch, and monitor Facebook Marketplace daily for unusual finds. Remember, even a good surface won’t hide structural damage, missing upholstery, or severely damaged laminate.

AUTHENTIC WOOD FINISH - Go Beyond Faux with our patented liquid wood technology. It looks and feels like wood because it contains over 60% recycled wood fibers. Transform any hard surface into stunning wood with Retique It! Get the warm, natural look of wood on any surface without the cost and hassle of traditional woodwork.


Use for a variety of indoor and outdoor project surfaces including wood, metal, plaster, masonry or unglazed ceramic
Clean, Repair, and Sand the Furniture
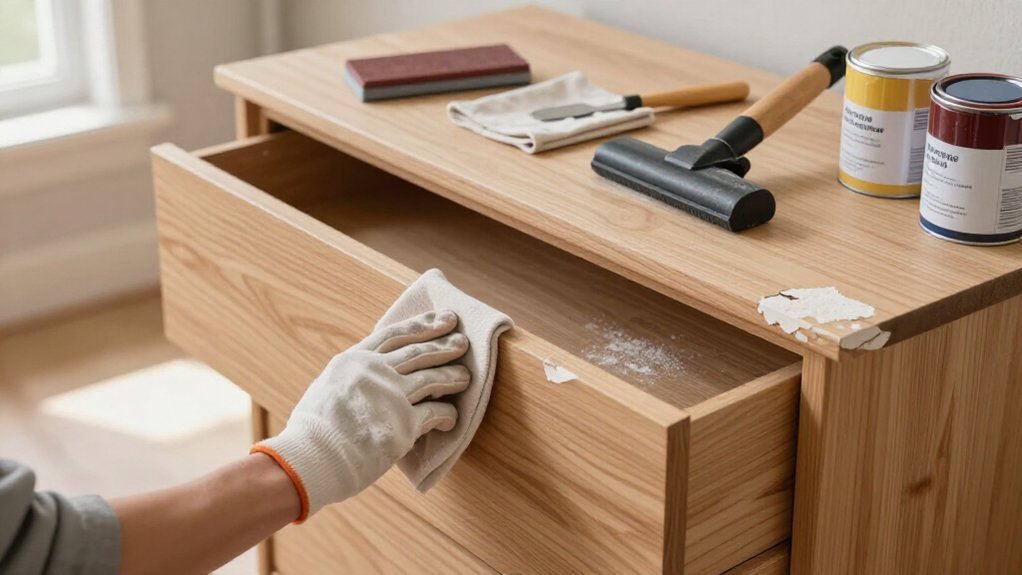
Before sanding, remove all hardware and drawers, vacuum dust and cobwebs, then clean every surface with Murphy’s Oil Soap. This cleaning prep work removes grime that can interfere with later coatings. For stubborn residue, scrub gently with #0000 steel wool, mild soap and warm water, then wipe with a microfiber cloth.
Let the furniture dry completely before sanding. Use 120–220 grit for smooth, sound finishes, and medium grit first on rough or glossy surfaces, followed by fine grit. Don’t oversand edges, veneers, or decorative details. Apply wood filler to scratches, gouges, and damaged spots, let it dry, then smooth repairs with 150–220 grit.
Control sanding dust with a vacuum, then wipe every surface using a tack cloth. A clean finish depends on thorough preparation, though damaged veneer may require professional repair.

EASY TO USE, EVEN FOR BEGINNERS: Whether you’re new to DIY or a pro, Rust-Oleum Chalked makes painting easy and enjoyable. Minimal prep required means you can jump right into your project confidently and focus on creativity—not complicated steps

FRENCH COUNTRY ELEGANCE - Transform your bedroom retreat with an antiqued two-tone aesthetic that blends a chipped white base and distressed wood finished top for added pastoral charm

EASY TO USE, EVEN FOR BEGINNERS: Whether you’re new to DIY or a pro, Rust-Oleum Chalked makes painting easy and enjoyable. Minimal prep required means you can jump right into your project confidently and focus on creativity—not complicated steps
Prime for Better Paint Adhesion and Coverage
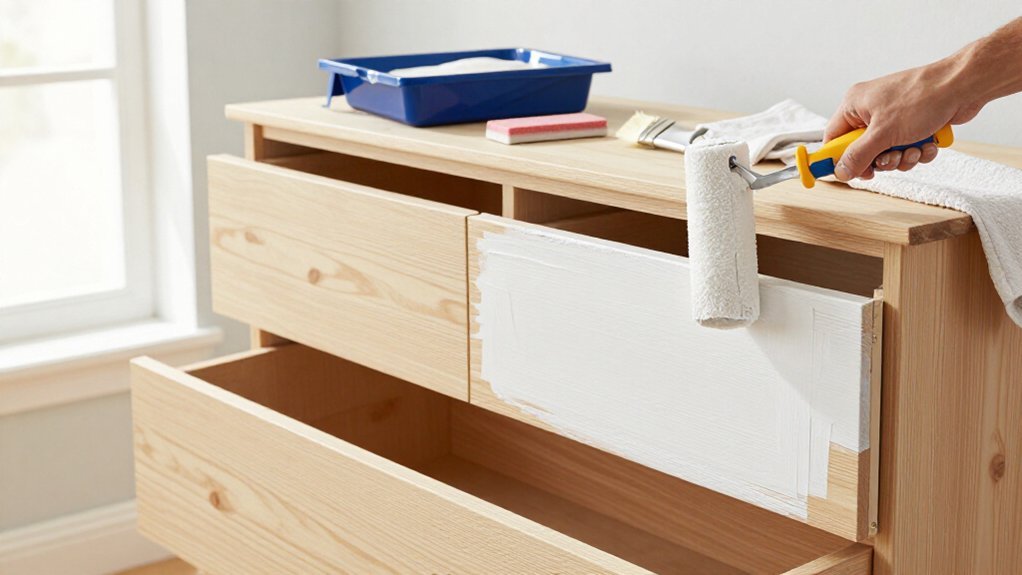
With the furniture clean, dry, repaired, and dust-free, apply primer to create a stronger bond and more even paint coverage. Choose a bonding primer for wood, or use a stain-blocking formula when odors or discoloration might bleed through. Ventilate well, and wear a respirator when applying shellac-based products.
Use a roller on broad surfaces and a brush around corners, crevices, casters, and upholstery edges. Don’t skip this step, even with paint-and-primer products, because primer helps prevent peeling. Apply two coats when stains show or coverage remains uneven, allowing each coat to dry according to the label.
After each coat, lightly sand with a fine-grit sanding block, then remove dust with a tack cloth. Let the final primer layer dry before applying latex paint, the first coat of paint, or your top coat.

Ideal to fill gaps, nicks and scratches on wood, laminate and vinyl flooring

Extensive Color Variety: Our Lifreer Wood Filler Sticks Kit offer an impressive range of 16 unique colors, including wood filler sticks pure white, white oak, red oak, mahogany, maple, rosewood, oak, black, cherry, red sandalwood, walnut, gray, royal blue, natural, bamboo yellow, teak. This diverse palette ensures you can perfectly match any wood surface, providing flawless and invisible repairs every time.

Wood Furniture Repair Kit: These furniture touch up filler are made of high-quality materials, featuring strong adhesion that firmly bonds to the surface of wooden items. The repair effect is long-lasting, resistant to peeling and cracking, and quickly restores the beauty and texture of the wooden furniture.
Paint Bedroom Furniture in Thin, Even Coats
Apply paint in thin, even coats, using a foam roller on broad surfaces and a brush or angled brush around crevices, edges, casters, and upholstery. Painting wood furniture requires consistent pressure to prevent drips and ridges. Begin with hard-to-reach areas, then coat larger surfaces while the paint remains wet. Use a thin coat, and choose a foam roller for flat panels, while a paint brush suits detailed trim.
With chalk paint, follow the manufacturer’s coverage guidance, because thicker applications can show brush marks. Let it dry for approximately two to four hours, according to the label. Then sand between coats, using a fine grit, such as 220 grit, and remove dust with a tack cloth. Apply two or three coats for durability. A clear coat belongs in the next finishing step.

General purpose sandpaper

Assorted Grit Sanding Blocks – This set includes 4 sponge sanding blocks (4 x 2.6 x 0.7 inches) in 120, 220, 320, and 400 grits, covering coarse to ultra-fine sanding needs. Color-coded for easy identification.

Assorted Grit Sanding Blocks – This set includes 8 sponge sanding blocks (4 x 2.6 x 0.7 inches) in per 2 pcs of 120, 220, 320, and 400 grits, covering coarse to ultra-fine sanding needs. Color-coded for easy identification.
Seal the Finish, Let It Cure, and Reattach Hardware
Once the final paint coat has dried for at least 24 hours, seal the surface with thin, even layers of a suitable topcoat. Choose water-based Polycrylic or Minwax Wipe-On Poly for reliable protection, especially over white paint, because polyurethane may yellow. Pour sealer into a paint tray, then apply thin coats without over-brushing, which can create streaks or fuzz.
Lightly sand between coats if the product instructions require it, and check for full coverage across edges, casters, and panels. A flat finish hides minor flaws, but it may show dirt more readily, so plan a good cleaning with warm water later.
Let it cure fully before use, remembering that initial curing can take about 30 days. Reattach hardware only after 48–72 hours, or longer in humidity, then avoid heavy handling for another day or two.

PROTECT WOOD SURFACES – Minwax Polycrylic Protective Finish protects and adds beauty to your interior wood projects, including woodwork, furniture, doors and cabinets. The clear top coat protects against scratches, spills, dirt and more.
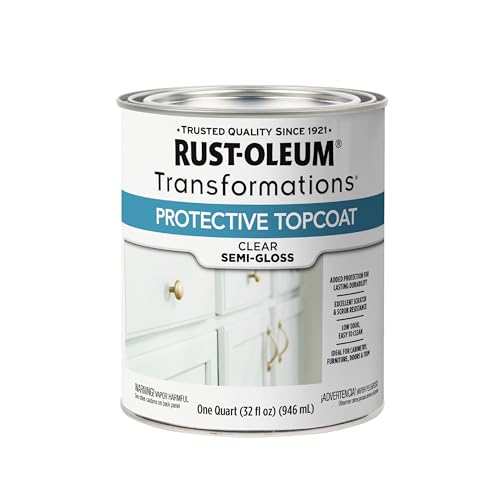
SCRATCH & STAIN RESISTANT PROTECTION: Resistance to everyday scratches and stains, providing a durable protective layer for interior painted, stained, or bare wood surfaces
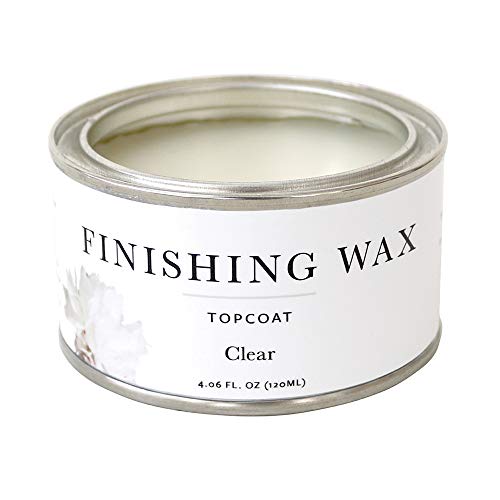
Durable Protection: Seals and protects interior furniture, cabinetry, and home decor. Suitable for painted, stained, or raw wood surfaces.