You might assume kitchen lighting demands an electrician, but you can handle this upgrade yourself with precise planning and standard tools.
First, measure your space, position fixtures 24 inches from walls, and place task lights 16 inches out for even coverage.
You’ll shut off power, test with a non-contact tester, cut openings between joists, run NM cable, connect wires by color, then install bulbs and trims.
The spacing calculations matter more than you’d expect, and one miscalculation will leave your counters in shadow.
Plan Your Kitchen Lighting Layout and Spacing
Before you cut any holes in your ceiling, you’ll want to map out where each fixture belongs, and this starts with measuring your space and deciding how your lights relate to walls and work areas.
You’ll position each Kitchen Light about 24 inches from the wall, and you’ll place focused task lighting, such as above your sink, with its edge 16 inches from the wall. You’ll use a simple spacing formula: divide your ceiling height by 2, so an 8-foot ceiling suggests roughly 4 feet between each light fixture. You’ll adjust this based on your actual room dimensions, perhaps tightening spacing to 30 inches for denser coverage.
You’ll mark each location with a template, scan for joists with a stud finder, and plan your wire routes between holes before you commit to cutting.
Shut Off Power and Prep the Ceiling Box
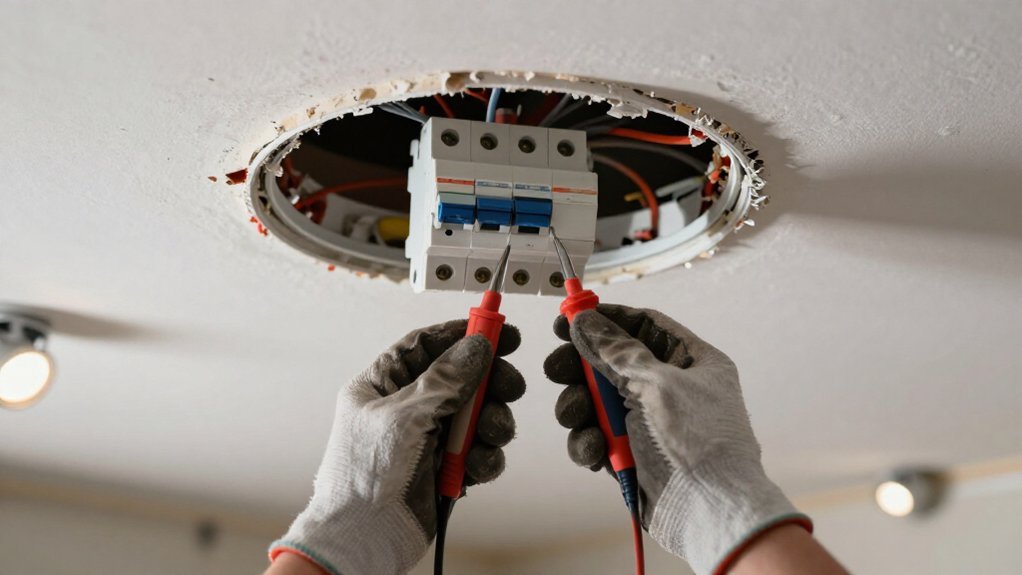
You’ll start by cutting power at the breaker box for the circuit feeding your kitchen light, and you’ll verify it’s truly dead with a non-contact voltage tester before touching any wires. Make sure you tape over that breaker so nobody flips it back on while your hands are near conductors.
Next, you’ll remove the existing ceiling fixture and inspect the electrical box. If this is your first time, you’ll want to confirm the box is solidly mounted and positioned where your new fixture connects. Lights come with specific mounting requirements, and a loose box will cause headaches later.
You’ll identify your conductors, black for hot, white for neutral, and green or bare copper for ground, before you make any connections. If wiring passes through a metal box opening, you’ll use a snap-lock cable connector to shield the cable from sharp edges.
Mark and Cut Ceiling Openings Without Hitting Joists
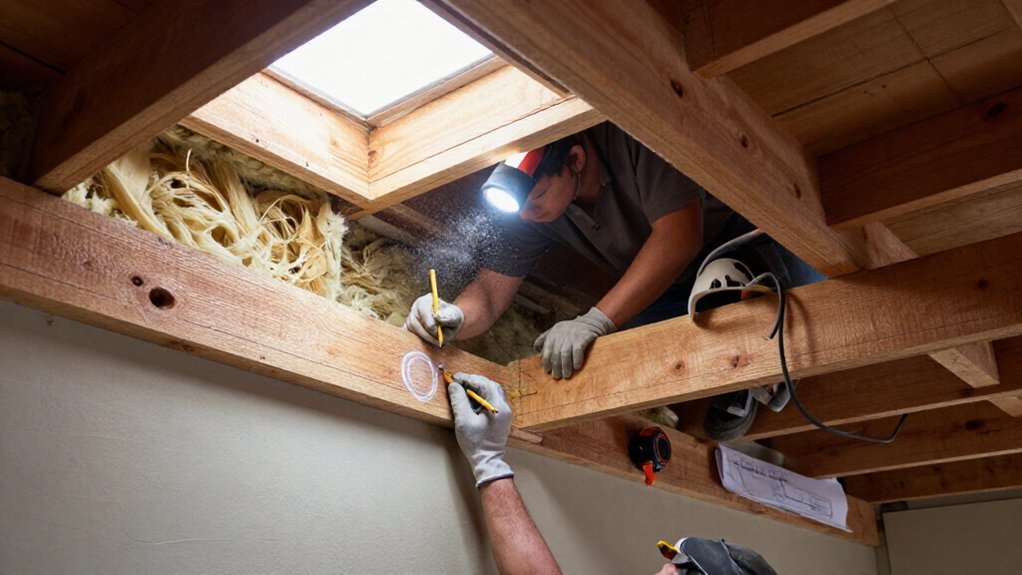
With the ceiling box prepped and conductors identified, you’re ready to map out where each fixture will sit. Grab a stud finder first, since you’ll need to locate ceiling joists before marking any cuts. Your recessed lights must avoid joist bays entirely, so staying off the joists keeps mounting safe and secure.
Map your fixture layout only after joists are found—recessed lights demand clear, joist-free bays for safe, secure mounting.
Lay out your fixture pattern on the ceiling, then trace exact circular cut lines using the template from your can light or mounting kit. Double-check measurements from the wall, roughly 24 inches for kitchen lights, and spacing between fixtures near 30 inches, before you commit to cutting.
Run a wire path plan between marked holes so feed cable routes stay aligned with joist-free zones. Cut carefully with a saws-all at traced circles, then test-fit housings so slim fixtures pop into place without interference.
Pendant lights follow similar spacing rules, though they mount to surface boxes rather than recessed openings.
Run Cable Between Lights and Connect Wires by Color
Once you’ve mapped your fixture pattern and cut clean openings, thread NM cable between holes in a continuous run, keeping bends gentle so you don’t nick the insulation or degrade conductor integrity inside. Plan your route to hug joist-free zones, and where cable enters each metal box, snap on a lock-style connector first to shield against sharp edges that slice through jacketing.
At each fixture, strip sheathing back carefully, then connect wires by color per the manufacturer’s instructions: black-to-black for hot, white-to-white for neutral, and green or bare copper-to-ground. Twist pairs tightly, cap with wire nuts until no bare conductor shows, and tape for extra security. Your kitchen lighting will work well only if you follow these steps precisely, so double-check every connection before proceeding.
Install Bulbs and Trims, Then Test Your Kitchen Lights
All your connections are tucked behind the boxes, so you’re ready to finish the fixtures. You’ll install the correct bulb type for your recessed light fixture, screw it in until snug, and add any trim or edge ring the manufacturer requires.
Before testing, you’ll confirm your wiring connections, black-to-black, white-to-white, and ground-to-ground, are fully tightened with wire nuts so the trim seats correctly. You’re updating an old kitchen through this kitchen remodel, and your lighting options matter.
You’ll restore power only after bulb and trim installation, since the fixture won’t be safe or stable until assembled. You’ll turn on the lights, verify brightness and color temperature, aiming near 3000K warmth and roughly 716 lumens per light. If flickering occurs, you’ll cut power immediately and re-check connections.