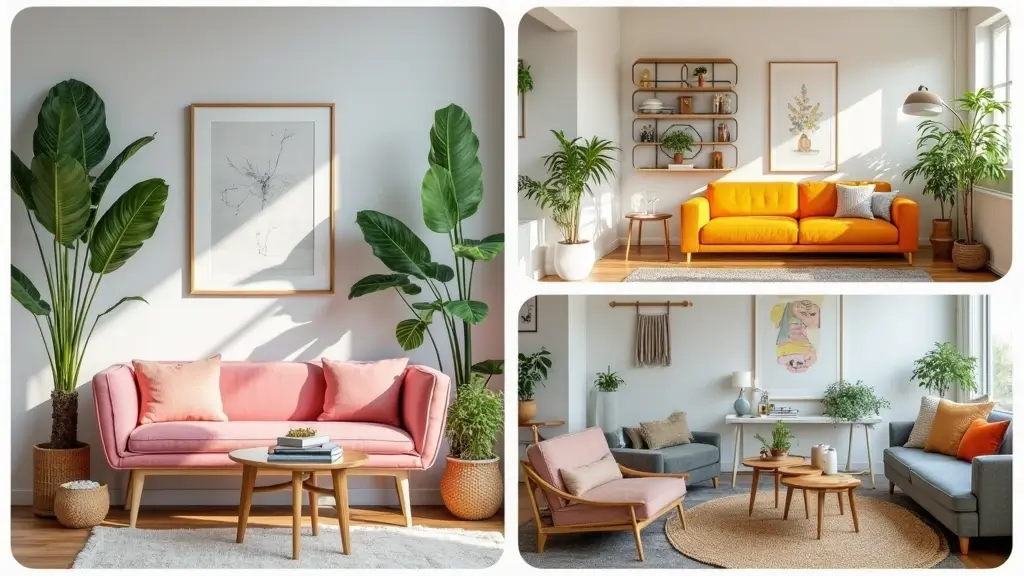
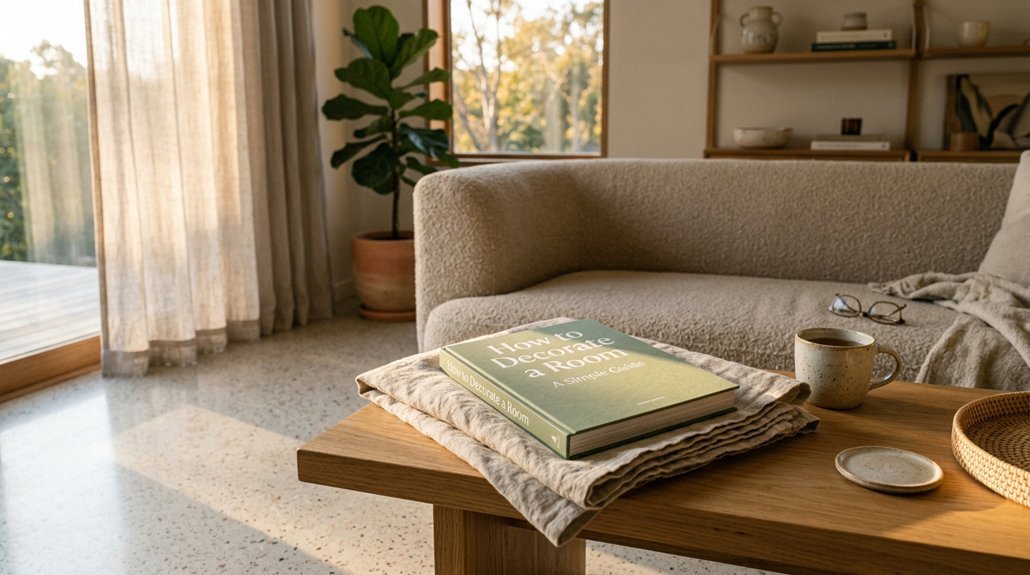
Decorating a house does not require professional training or unlimited funds, but it does demand a systematic approach you can replicate room by room.
You will start by selecting a single space, measuring its dimensions precisely, and establishing a functional layout before committing to paint colors, foundation furniture with durable upholstery, and layered lighting at three distinct heights.
The process rewards patience, and the first decision you make will determine whether your space feels cohesive or cluttered.
Start Small: Pick One Room (or Even One Corner)
One manageable approach keeps your project from spiraling. You pick one room, perhaps a home office, and you refuse to tackle the whole house. This scope limits the decisions you’ll make, and it prevents design paralysis.
You confirm the room’s function first, and you organize for usability. You create a mood board that captures how you want the space to feel, and you collect only inspiration matching that goal. This focused method helps you make decisions about paint, flooring, and foundation pieces without distraction.
You shop in order: surfaces first, then large furniture, then accessories. You avoid the “piecemeal” look that happens when you buy random items. You’ll finish one space completely, and then you’ll move to the next room with confidence.
Clear the Space: Declutter and Clean First
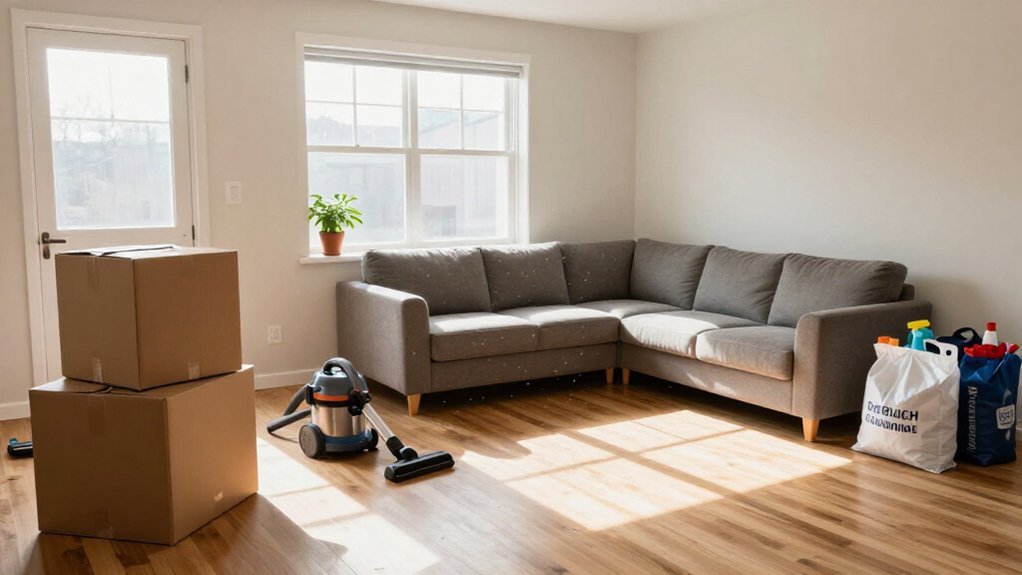
After you’ve finished one room completely, you’ll bring that same disciplined focus to preparing the next space, and that preparation starts with stripping it bare. You must clear the space by removing items that don’t serve the room’s intended purpose, so you can see the real layout and capacity.
In home decorating, you’ll throw out obvious junk, move clutter to proper storage, and dust or sanitize every surface. Make sure you organize what remains into practical zones, separating daily-use items from infrequent ones, because you can’t build effective interior design around piles of stored belongings.
Once you’ve wiped everything down, you’ll accurately assess your true square footage for furniture, storage, and accessories. This clean baseline lets you establish the feel or mood you want, and you’ll avoid buying pieces that don’t fit your actual dimensions.
Set a Decorating Budget (and Stick to It)
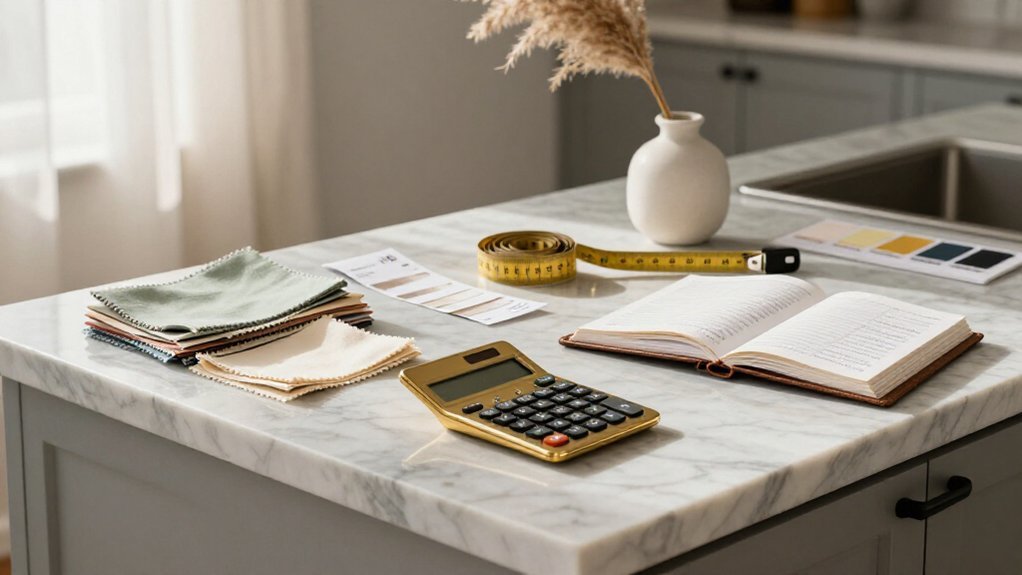
Before you browse a single paint swatch or furniture catalog, you’ll set a hard budget that separates your “must haves,” “nice to haves,” and “not a priority” into line items with estimated costs, and you’ll keep a running spreadsheet updated with real numbers as you shop.
You’ll help guide your home project by building in a 10-20% contingency for overruns, especially for gut kitchen remodels in older homes with hidden structural issues. You’ll get three bids for major contractor work, comparing price against quality and reliability, since scheduling delays inflate downstream costs.
You’ll calculate square footage for flooring, paint, and tile to estimate quantities accurately, avoiding surprise reorders. You’ll make controlled choices on mid-project upgrades, rebalancing spending to help prevent budget blow-ups.
Create a Mood Board for Your Decorating Style
Once your budget framework locks in your spending guardrails, you’re ready to shape the aesthetic direction that’ll guide every purchase decision. Start by creating a Pinterest mood board, and pin roughly 40 to 50 images using real rooms, color schemes, and furniture you’re drawn to, even if you don’t know the exact style yet, so you can spot recurring vibes like color, forms, and textures.
After this initial round, step back and review your collection to identify repeated threads, including dominant tones, common materials, and the overall mood descriptors, then adjust your assumptions based on what actually appears in your pins. Refine with a second mood board only if needed, keeping the first for original inspiration while drilling down with a tighter set of pins, and save source info so you can reference where each look came from later.
Use a springboard object, such as a rug, artwork, paint sample, or photo, as the visual anchor for your color palette so your room direction has a clear starting point instead of feeling piecemeal. When you feel confident, build a working board by screenshotting and arranging key pieces in a layout tool like Keynote, Google Slides, or Canva, scaling and rotating them to test combinations for cohesion before making purchases. This Pitch Colors approach streamlines your design process and prevents costly missteps.
Find Your Anchor: One Object to Guide Everything
You’ll start by identifying one springboard object, a rug, artwork, or furniture piece, that already feels right and will steer every subsequent choice. Once you’ve chosen this anchor, you’ll extract a tight palette of three to five colors and carry those tones into paint, upholstery, and accents so the room stays cohesive.
You’ll also match the anchor’s dominant materials, wood tone or metal finish, and repeat them elsewhere to build visual continuity without overcommitting to a single look.
What Is a Springboard Object
At the core of every cohesive room sits a single anchor piece, your springboard object, which you select not for rigid replication but for the broader direction it implies. You choose this anchor, perhaps a textured rug or vintage artwork, because its vibe, color mood, and texture resonate with you, even when you’re unsure about naming the style.
You’ll spend time letting this piece reveal repeating threads in your preferences, then extract its design elements to guide every subsequent choice. From paint colors to window treatments, you make certain each selection harmonizes with your springboard’s implied palette.
You use it to layout your furniture with cohesion, checking that upholstery tones and wood casters echo the anchor’s character. Trust your gut; you’re repeating mood, not cloning details.
Choosing Your Design Anchor
A springboard object only works when you’re deliberate about selecting it, so start by walking through your home with fresh eyes and identifying one piece that stops you every time. This might be a hand-knotted wool rug with faded indigo threads, a mid-century ceramic vase with volcanic glaze, or a framed lithograph whose ochre background you’ve never quite named but always notice.
Once you’ve found your design anchor, take measurements immediately, then sketch a scaled layout on graph paper or use a floor-planner app. Outline furniture placement with blue painter’s tape on your actual floor to test traffic flow, outlet access, and lighting needs before committing.
Build a mood board with 40 to 50 images matching your anchor’s vibe. Identify repeating colors and textures, then select 3 to 5 supporting elements, paint shades, upholstery fabrics, and hardware tones that harmonize without competing.
Using Anchors Effectively
The right anchor won’t do the work for you, but it will do the thinking. You pick one thing, like a rug or bold artwork, and you let its colors and materials guide every choice you make in your living room. You feel drawn to the anchor’s warmth or coolness, and you build outward from that feel.
You start a mood board with 40-50 images that match your anchor’s presence, then refine by selecting pieces that complement it directly. You plan view mockups to check balance before purchasing casters, upholstery, or hardware. You choose at least one supporting element, such as pillows repeating a texture, to maintain cohesion.
You treat architecture as fixed structure, allowing your anchor to enhance rather than compete with flooring and built-ins.
Measure Twice: Draw a Floor Plan That Works
Before you commit to a sofa that won’t clear the doorway or a rug that swallows your walkway, you’ll need to map your space with precision. Even the most beautiful upholstery can’t compensate for a layout that doesn’t function.
Grab your tape measure, and tackle one room at a time. Every room demands accurate floor plans, so measure walls, windows, doors, and built-ins, then create a simple drawing to scale. Use graph paper with a 1-foot-to-1-square method, or try a free floor-planner app, and sketch furniture outlines at exact sizes.
Transfer your layout onto the actual floor with blue painter’s tape, and check clearances around doors and walkways. Mark outlets, switches, and vents, then recheck seating count, circulation, and whether pieces can fully open before you buy.
Pick Paint Colors (Before Furniture Arrives)
Because paint forms the permanent backdrop that every future fabric and finish must harmonize with, you’ll want to lock in your palette before the first sofa ships. When you pick paint colors, you’re establishing the whole house color scheme that guides every later decision, from upholstery to accent pieces.
Select 3–5 anchor tones (light, dark, mid) that match your desired mood for the permanent backdrop. Test samples in actual spaces at morning, afternoon, and evening; lighting shifts warm and cool undertones materially. Coordinate with your flooring’s temperature, aiming for continuity or intentional contrast.
Anchor your space with 3–5 tested tones that bridge light, mood, and flooring—then let every layer follow.
Start with near-neutral walls if uncertain, then add bolder hues through accents later. Keep sample cards and test notes organized so you can commit before furniture arrives.
Design A Room tools help visualize your dining room, but physical samples reveal true color behavior.
Choose Foundation Furniture That Fits
You’ll typically begin with a tape measure and graph paper, or a free floor-planner app, because every foundation piece demands precise spatial accounting before you commit. Measure your room first, then lay out your furniture using scaled cutouts or tape on the floor to verify traffic paths and spatial relationships.
Select foundation pieces, typically a neutral sofa plus coffee table or armchairs, so your style can evolve without replacement costs. Prioritize durable upholstery, such as performance fabrics or aniline-dyed leather with protective treatment, and use the fingernail test to assess resilience.
Keep silhouettes classic and tones neutral to create a room that adapts as you refine accessories. This flexibility lets you save money by updating smaller elements rather than replacing major investments.
Add Textiles That Can Take a Beating
Once your foundation pieces are in place, your textiles face the real test of daily life, and fabric choice determines whether your room stays presentable or shows every coffee drip and muddy paw print. You need materials that work together for durability, without breaking your maintenance budget or consuming a lot of time on upkeep.
Select performance textiles like Crypton or Sunbrella for spill-resistant upholstery that cleans easily. Choose wipeable leather, ideally aniline-dyed with protective treatment, to reduce permanent staining in homes with kids or pets. Apply the fingernail test; if your nail leaves a mark, that leather won’t survive daily wear.
Use washable slipcovers or large throws so you launder covers instead of reupholstering. Avoid high-maintenance light fabrics unless quick-clean strategies might feel manageable for your lifestyle.
Light the Room at Three Heights
You’ll layer your lighting at three distinct heights to keep the room functional and visually balanced throughout the day. Start with overhead ceiling sources for general illumination, add mid-level fixtures like table and floor lamps for reading or task work, and finish with ambient floor lighting such as wall washers or candle-style accents to prevent that flat, all-bright look.
Match your bulb temperatures across all three layers, since mismatched warmth or coolness can shift how your paint and upholstery actually appear.
Ambient Floor Lighting
Although a single overhead fixture can illuminate a room, it’ll often leave corners dim and create harsh shadows that strain your eyes during evening tasks. You’ll solve this by layering ambient floor lighting at multiple heights, which balances function with atmosphere.
Position a floor lamp where it washes light across walls and your main seating area, not into anyone’s eyes. Your furniture placement dictates ideal lamp locations, so map zones before buying fixtures.
- Pair ambient floor lighting with overhead sources and table lamps for full, layered coverage
- Select warm bulbs, 2700K–3000K, for a relaxed feel, or 3500K near task lighting zones
- Add diffusers, fabric shades, or uplight designs to soften shadows via ceiling reflection
- Space lamps 6–10 feet apart, or use one per major zone, for even glow
- Coordinate accent lighting separately to highlight art or architectural details
Mid-Level Fixtures
Since you’ve already established ambient floor lighting, you’ll now anchor the room’s vertical lighting scheme by addressing mid-level fixtures that bridge the gap between overhead wash and low glow, creating the three-height layering that prevents flat, shadow-heavy interiors. You’re designing a room that demands task and accent sources at seated eye level, typically 42 to 48 inches from the floor.
Mount adjustable-arm wall sconces with linen shades or ceramic bases beside upholstery, or position a Mid-century Modern arc lamp with a marble base and pivoting shade over reading nooks. These fixtures cast directional beams that eliminate shadows behind furniture and accessories. Start pinning examples with brass finishes and warm 2700K bulbs, and verify outlet placement before committing to corded pieces. Apply this logic across your entire home for consistent, flattering illumination.
Overhead Ceiling Sources
With your mid-level fixtures now positioned at seated eye level, you’re ready to complete the three-height system by addressing overhead ceiling sources that establish the room’s foundational ambient layer. You should plan these overhead ceiling sources as the first layer, then add wall sconces and lamps to build a complete scheme.
Try to give your house look consistency by matching fixture style and distribution to ceiling height. A space that’s properly lit avoids glare and dark corners.
You can even start with these essentials:
- Target 10–20 lumens per square foot for general overhead brightness
- Select diffusers, glass shades, or recessed trims appropriate to your ceiling height
- Install dimmers to control contrast as daylight shifts
- Center fixtures over circulation paths, not just room middles
- Account for smoke detector clearance and avoid glare toward seating